So for this part of the build, I will go over my work on building up the main hull of the MICV, the "metal bawx!" to quote a certain Dawn of War: Soulstorm Chaos Space Marine leader...
First off, this design is great as Patoroch designed some interior supports right off as your first parts. These I originally printed on regular typing/copy paper and ended up using the glue stick to attach to some incredible cereal box type card or chip board. It came from a food box, so, I have no 'craft store' or 'art store' term for it. Treated right, this really stands out as a great foundation for the rest of the build to attach to. In fact, other components showed some warping as a result of me not using this again in other places...


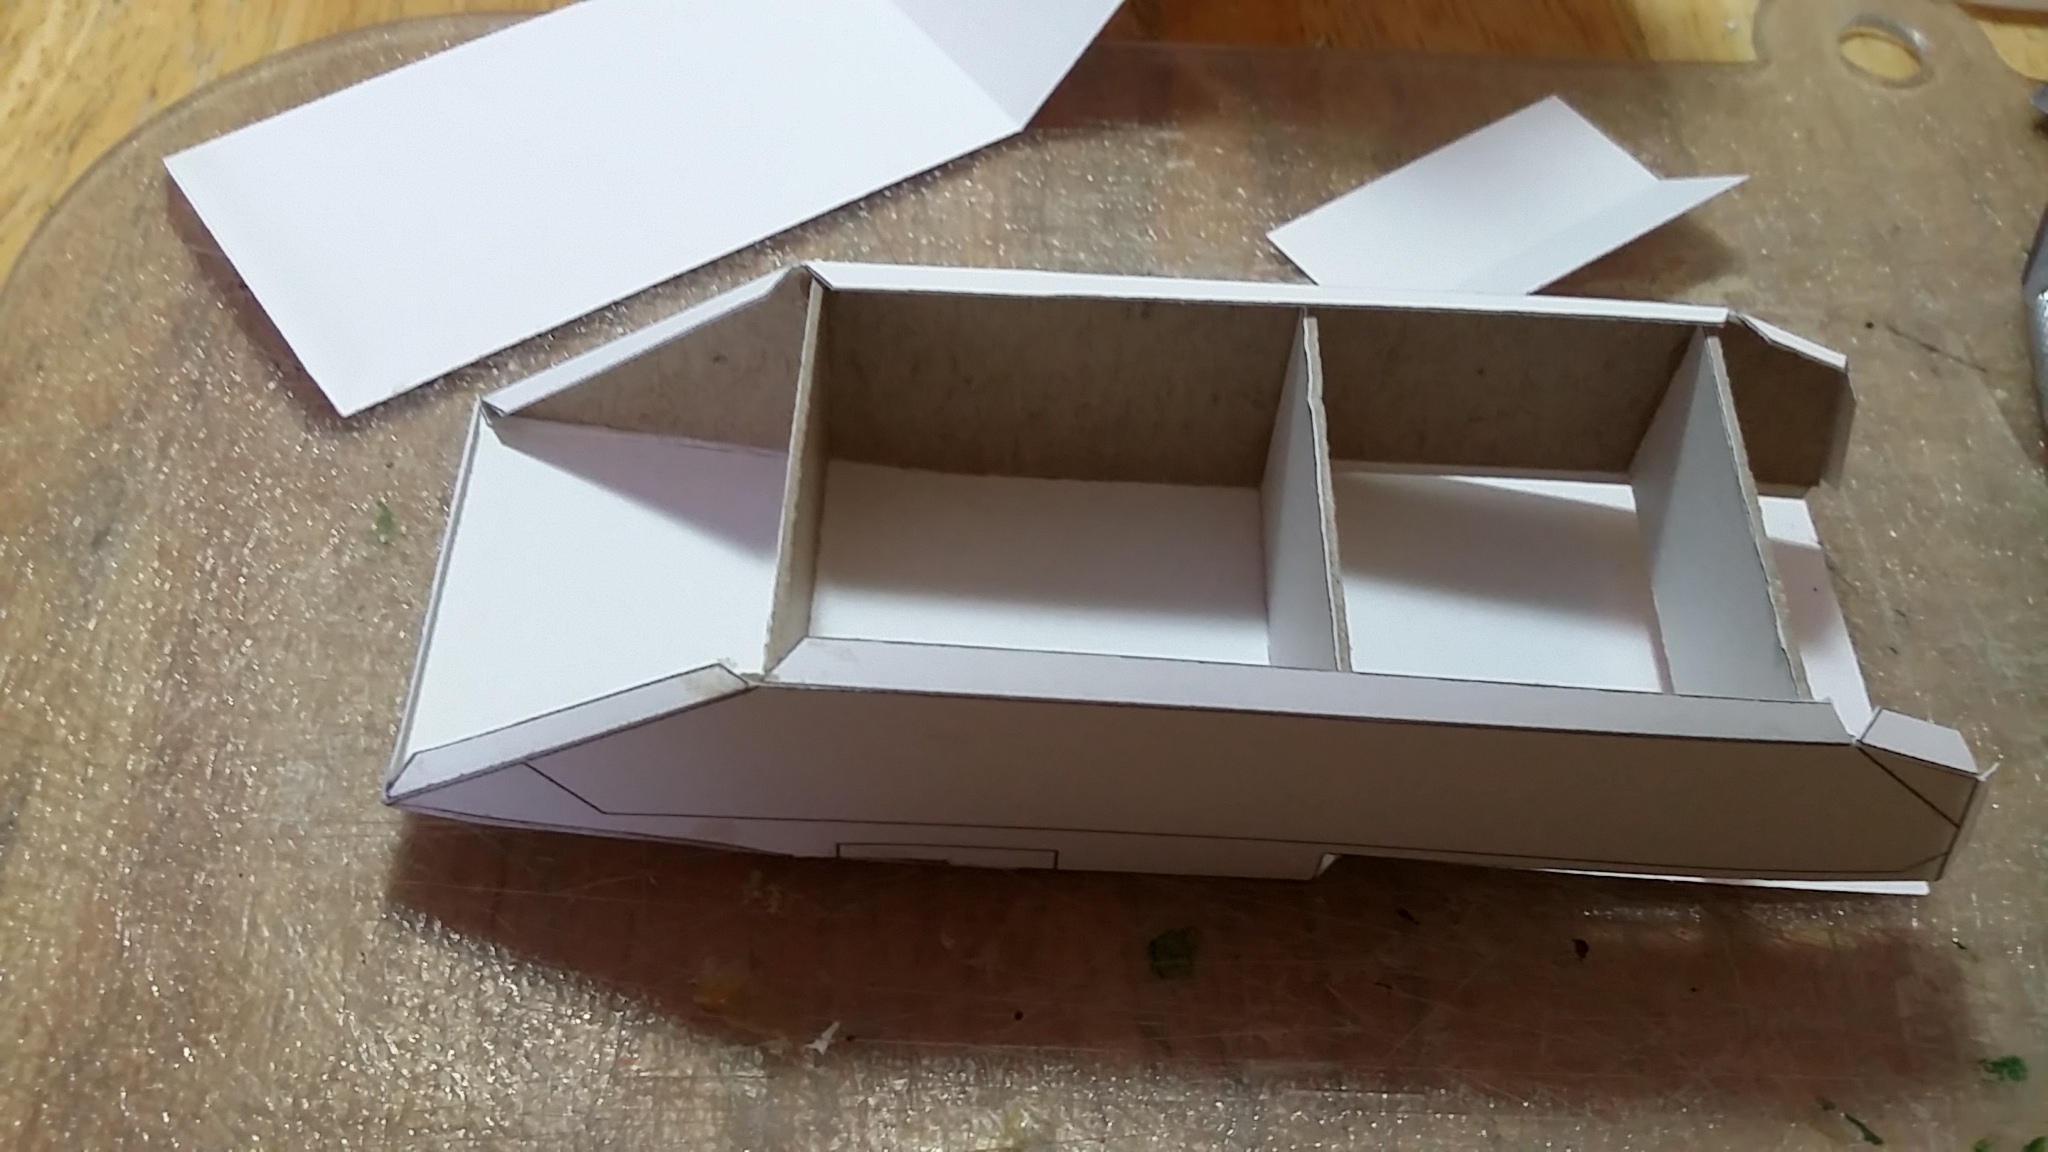

As you can see, that cereal box provided a very sturdy 'skeleton' on which to flesh out this armored vehicle. Best part of armor building is that it truly is nothing more than figuring out the geometry of a box, and then adding greebles from there. For this BMP, that was the rear of the hull where there is another box in the form of the upper rear hull where the weapons ports exist for the infantry dismounts to stick their barrels out of and engage the enemies on the sides of the vehicle (and as you can see, there are also two ports to the rear for such a reason).


Here we conclude this portion of the build workflow. Keep the idea of lamination in the back of your mind though! We will return to this later, a lot, I promise!
No comments:
Post a Comment