Over the last couple of years I have been very deeply involved in building a lot of armor for the gothic SF universe Warhammer 40,000 (WH40K). 40K gamers are familiar with the cost of doing so, and would be surprised to find that for less than $100 USD I have been building just about non-stop without buying a single kit. No, I download a design and print it out on nice card stock and start building it. I spend months building a single one at times and proudly post my work on Zealot, Cardboard Warriors, and Facebook in the relevant Groups. Part of why you rarely see hobby post here... Sorry... I'll try to do better!
Please take a moment to peruse the desktop printer compatible designs on the linked pages! They are incredible, and will forever alter your perception of that humble piece of paper when combined with the right card thickness and reinforced with your morning cereal box.

Step one to any such project, find a printable template to build! My first, project was created by a talented Ukrainian artist Eli Patoroch. He wasted no time in combining features of Games Workshop's Chimera and it's source inspiration, the Russian BMP-1/2/3 series of Mechanized Infantry Combat Vehicles (MICV). His template can found on the following Google Drive link, or you can search Zealot or the Facebook group I listed above. For American/North American readers who have to use US Letter size paper, you can scale this down to about 96% to get the template to fit on our shorter but wider sheets. I recommend 100#/271gsm for card stock weight. Since building this, and scaling it, I've found an a US source for ISO A4 card stock that is close to that weight.


Prior to finding the A4 size paper, this was the cardstock I used and scaled my templates down to. After printing them, use a clear matte or clear flat spray coating on the printed templates. Be liberal with how much you use, let one side dry, flip, and apply to the other. I have found this does a wonderful job of eliminating much of the warping that occurs when you use glue. It does not eliminate all of that, but I will get into that in much greater detail later. I discovered this trick when I acquired some Dave Graffam models and read his Paper Model Guide which you can acquire freely on Wargame Vault. This little tip opened the possibilities of papercraft as much as discovering how cosplayers build armor out of paper and coat it in epoxy resin before adding fiberglass and autobody filler. This was the missing tool in my paper building skillset I so critically needed to discover!

Different project, blurry, but you get the picture. Krylon Satin Finish or similar, and don't forget ventilation and a good face mask! Mine has seen a lot of use given the scarcity of face masks lately, it only reinforces the need for good ventilation for this step. Otherwise, your tools are much more simple.
Most of your basics: quality glue stick, quality PVA glue, good ol' No. 11 hobby blade, a ball end tool (smallest diameter you can find), and a strait edge (or three). Different template than the BMP, same process building!
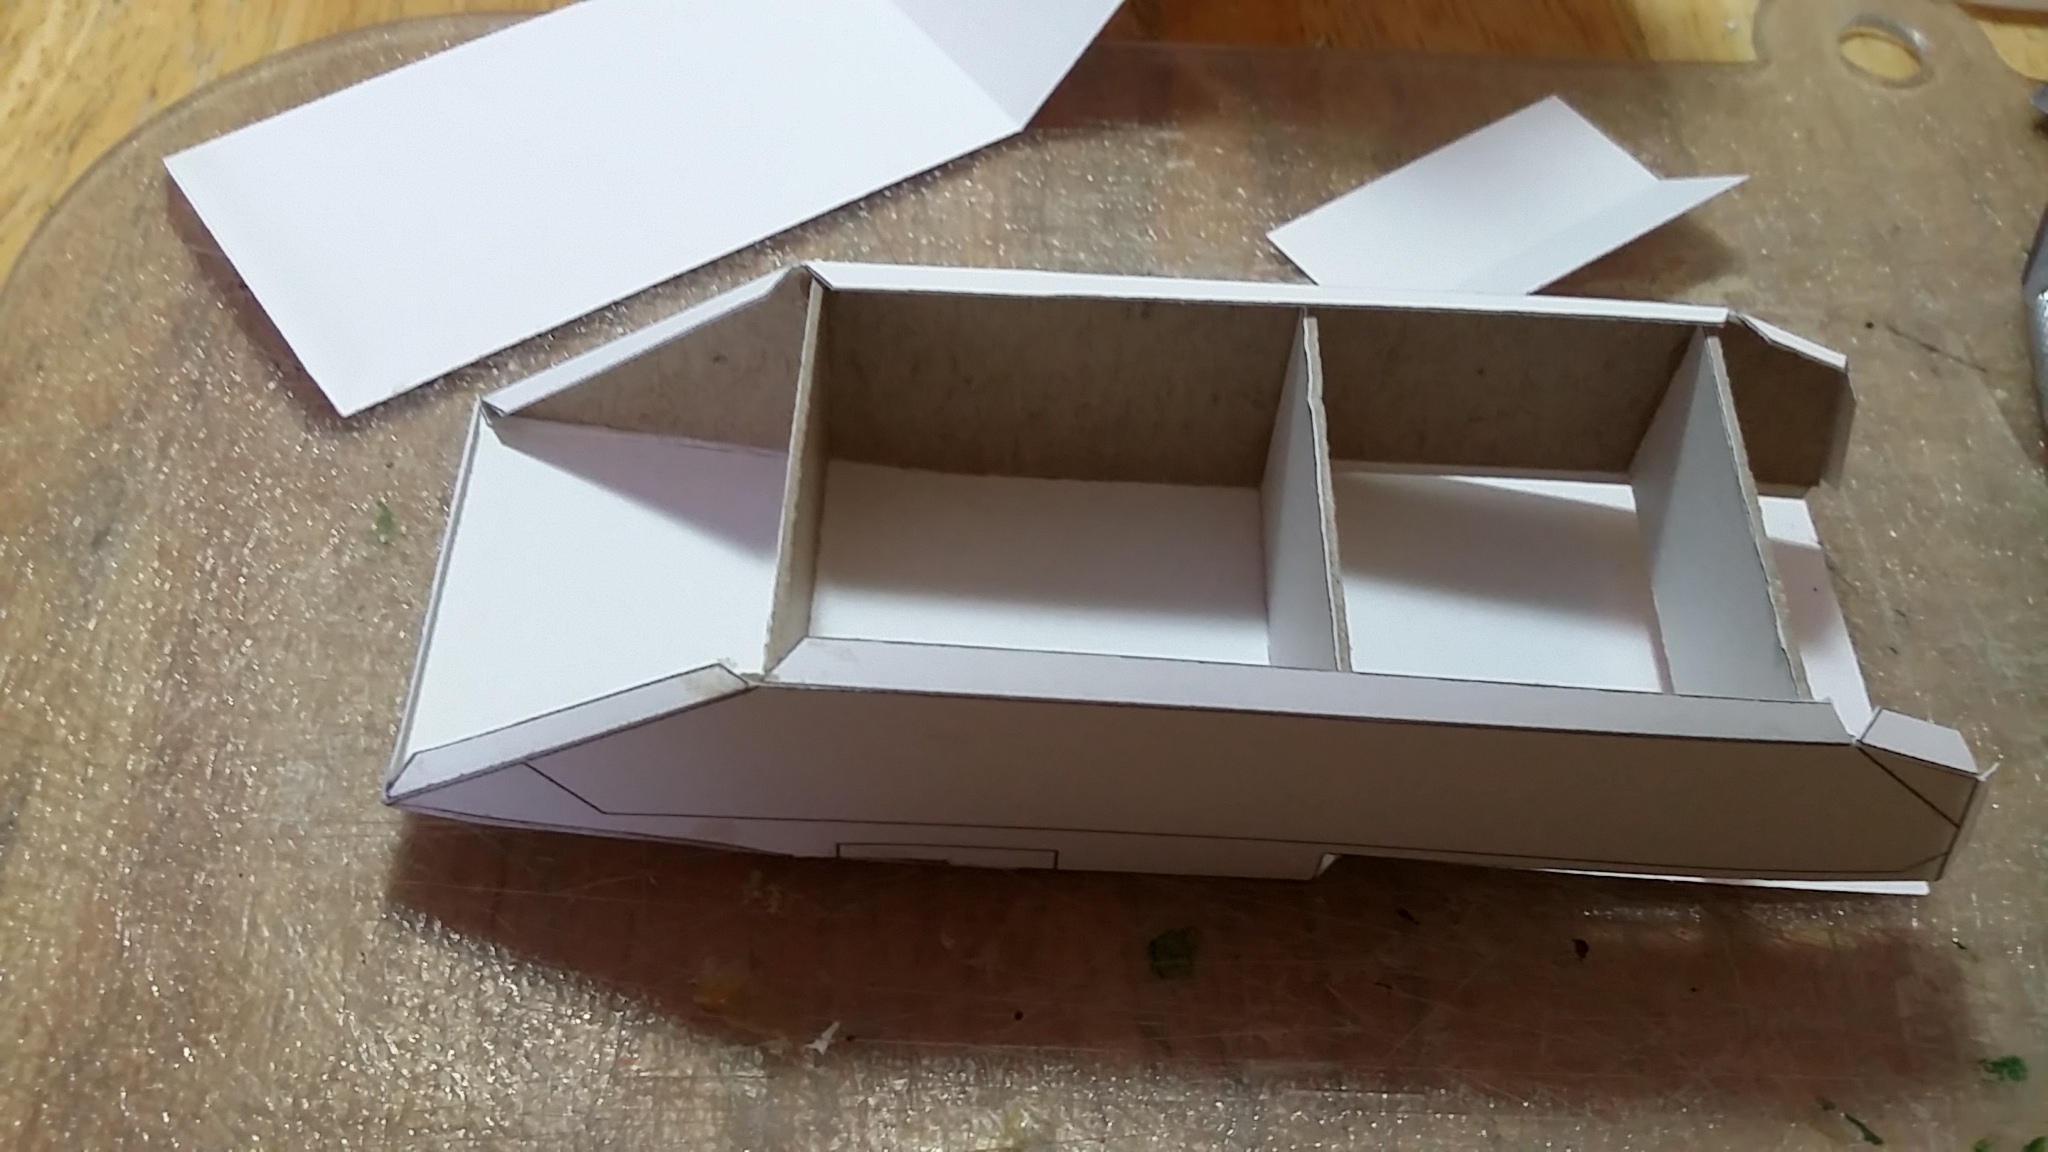
Why the ball end tool you may ask? Two reasons. First: every fold gets pre-creased with the ball end tool. No matter which way I fold (mountain or valley fold), it will fold nicely with the tiniest of radius smaller than the thickness of the other material around it. Second: details such as seams or gaps between armor panels, lightly depressed areas around view ports, and other such details get some treatment from the ball end tool. This takes some time to analyze your build process to nail down just what exactly you need to do. Patoroch models mostly come with an assembly drawing, normally without all the views you (think) you need. Keep reference pictures handy in your search engine on a device near your workbench!
That is all for now folks!