So, for starters,
this is the Wizkids Pathfinder Deep Cuts Medium Earth Elemental (SKU
73357/UPC 63448273357-8 for those interested in acquiring exactly
this pair of miniatures). The package comes with two of them, and
costed about $5 USD. That would be about $2.50 a miniature, and both
are very detailed, and frankly rival anything Games Workshop puts out
without being charged through the nose. They are pre-primed as well.
This is a two edged sword however, as you are going to spend some
time removing mold lines, which on these guys is not too bad as they
are pretty easy geometrically to scrape mold lines off of. On these
guys, I did not find myself re-priming. The light primer surface
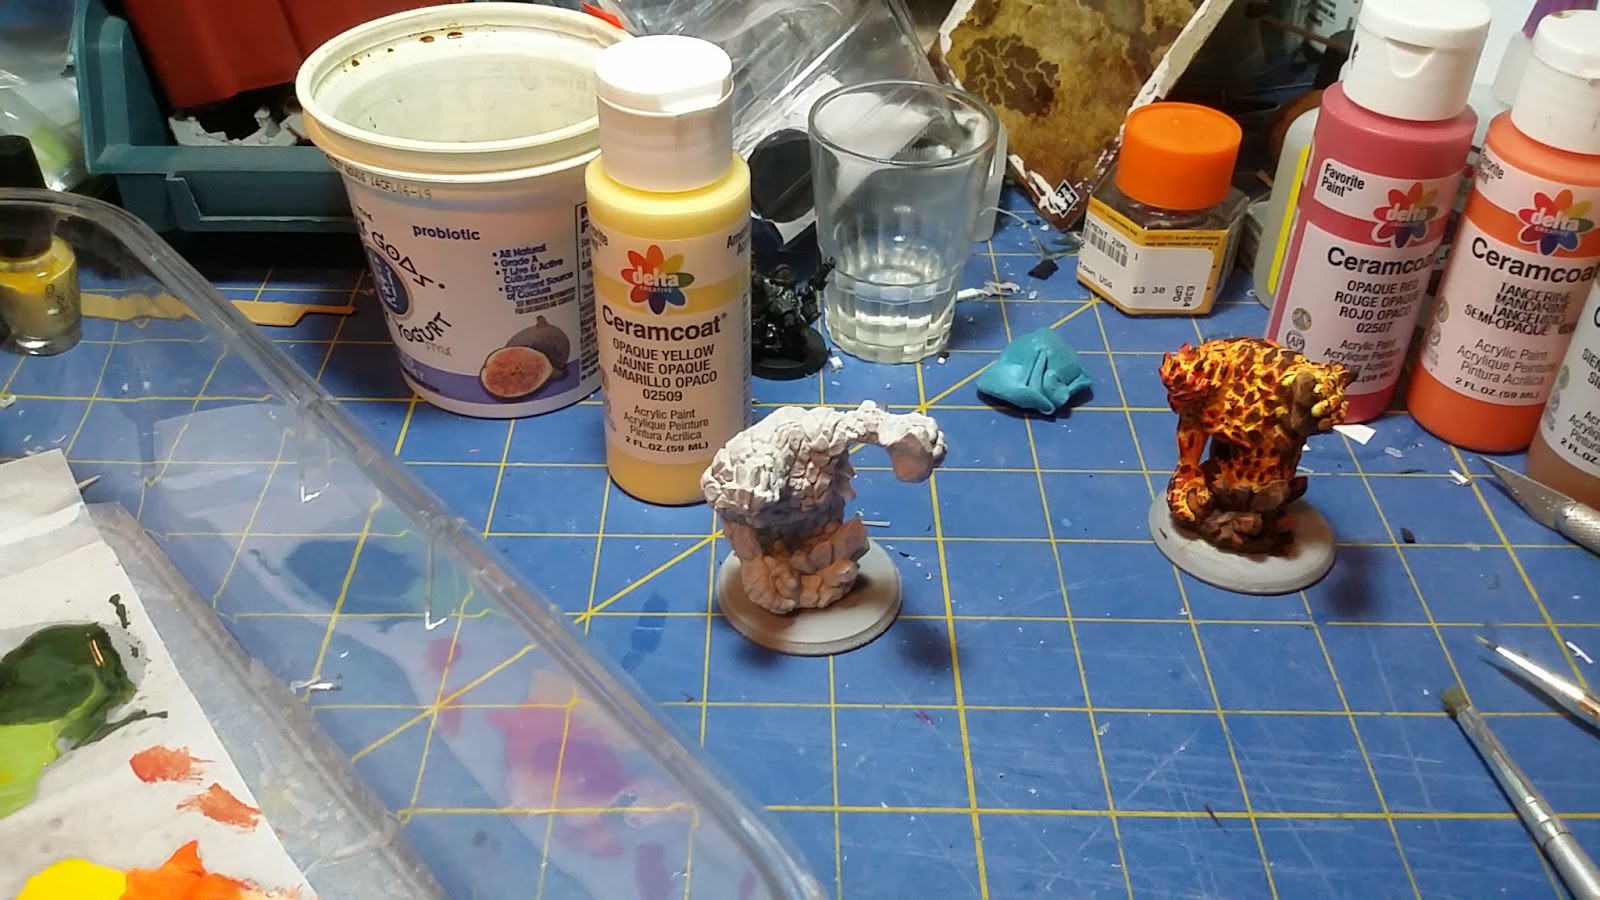
really enhanced the way I was going to paint them. Wizkids chose to
do a, to me, boring grey rock type elemental with green crystals on
the clear elements attached to the torso. I wanted something
different…

I wanted more of a
molten, lava, living elemental coming strait through the crust from
the core of the planet! Sure, it runs the risk of overlapping a fire
elemental… But hey, the core of our planet is molten iron, why
would an earth elemental not be of the same material? Makes sense to
me. My palette for this project was simple. Delta Ceramcoat (higher
quality US acrylic craft paint, does everything my Liquitex acrylics
have done, without all the thinning…) Opaque Yelllow, Opaque Red,
Tangerine, Raw Sienna, and Burnt Umber. So far, that Opaque Yellow
is a great “go-to” for painting anything that is going to be
yellow! Make sure to prime the surface in a light color (as these
were already pre-primed, that was easy). Whenever I use a black or
dark grey primer, I tend to use Ceramcoat Ivory on the desired
surface, and that tends to do the trick.

I also got to play with my improvised wet palette, basically a food container, wet paper towel, and a piece of parchment paper!

Step 1: Using a
flat brush (in this case, a #3 Bright), coat the elemental in Opaque
Yellow, and ensure you get the paint into the cracks and crevices.
This is the base coat for the elemental. Base coat the earth with
Burnt Umber.


Step 2: Using the
flat brush again, drybrush orange onto the surface of the elemental,
don’t panic if you get some of the orange paint into the cracks and
crevices of the elemental, we will use this chaos in our miniature to
turn it into art, and we’ll also go back and get some of that
later.

Step 3: Do Step 2,
but with the Opaque Red


Step 4: Now we take
our 15/0 or 20/0 round brushes, and use some more Opaque Yellow
sparingly in the crevices to re-coat them with the much lighter
paint. This will serve to add the glowing from the inside effect we
will want when we get done.


Step 5: Now, the
moment of truth for the lava effect! Grab the Burnt Umber, and using
a combination of the flat and round brushes, pick up the high points
on the elemental’s surface. After all, lava and molten iron cool
away from the source of the heat, and it has the darker color effect.
This is also when we take the Raw Sienna and highlight the areas on
the rocks (using dry brushing), and maybe mix in a bit of the yellow
and orange to add some glow to those edges remembering that the
primary light source for those would be the figure of the elemental
itself. I chose not to paint the crystals translucent, and just make
them a part of the elemental. When I figure out those translucent
spell effects, I’ll share…


So, there you have it folks! Economical limited palette anyone can try at home! All said, I think the cost of the brushes years ago outstripped the cost of these two miniatures and paints combined... Even then, not my much (the nice Reaper and Liquitex brushes anyway). So, when I get to use these in a game, perhaps Dragon Rampant, someday you might see a battle report!
No comments:
Post a Comment